I started learning photography with Codex using a Sony ZV-E10 II, its 16–50mm kit lens, and a plant in a yellow pot. My first questions were basic: what were the squares on the screen, where was the zoom lever, and did the “F” number mean aperture?
I wanted a blurry background and enough understanding to choose the settings myself. Here are all 10 photos saved during the lesson, including the near-duplicates and the imperfect attempts. The sequence covers about 20 minutes according to the camera’s timestamps.
Connecting the camera to the lesson
With the camera connected to Sony Imaging Edge Desktop’s Remote app on my Mac, Codex could inspect the live view, operate the available controls through the computer interface, and review saved photos. I moved the camera and plant, asked questions, and practised using the controls myself.
Sony’s ZV-E10 II remote shooting guide explains the supported computer connections. Imaging Edge supplied the camera controls; Codex helped me understand what changing them did.
All 10 practice photos, in order
Each caption includes the settings recorded in the photo’s EXIF metadata. Open any image to see the saved JPEG. Lighting, camera position, framing and focus also changed along the way, so these comparisons document a practice session.
1. Choosing a focus area and noticing the frame
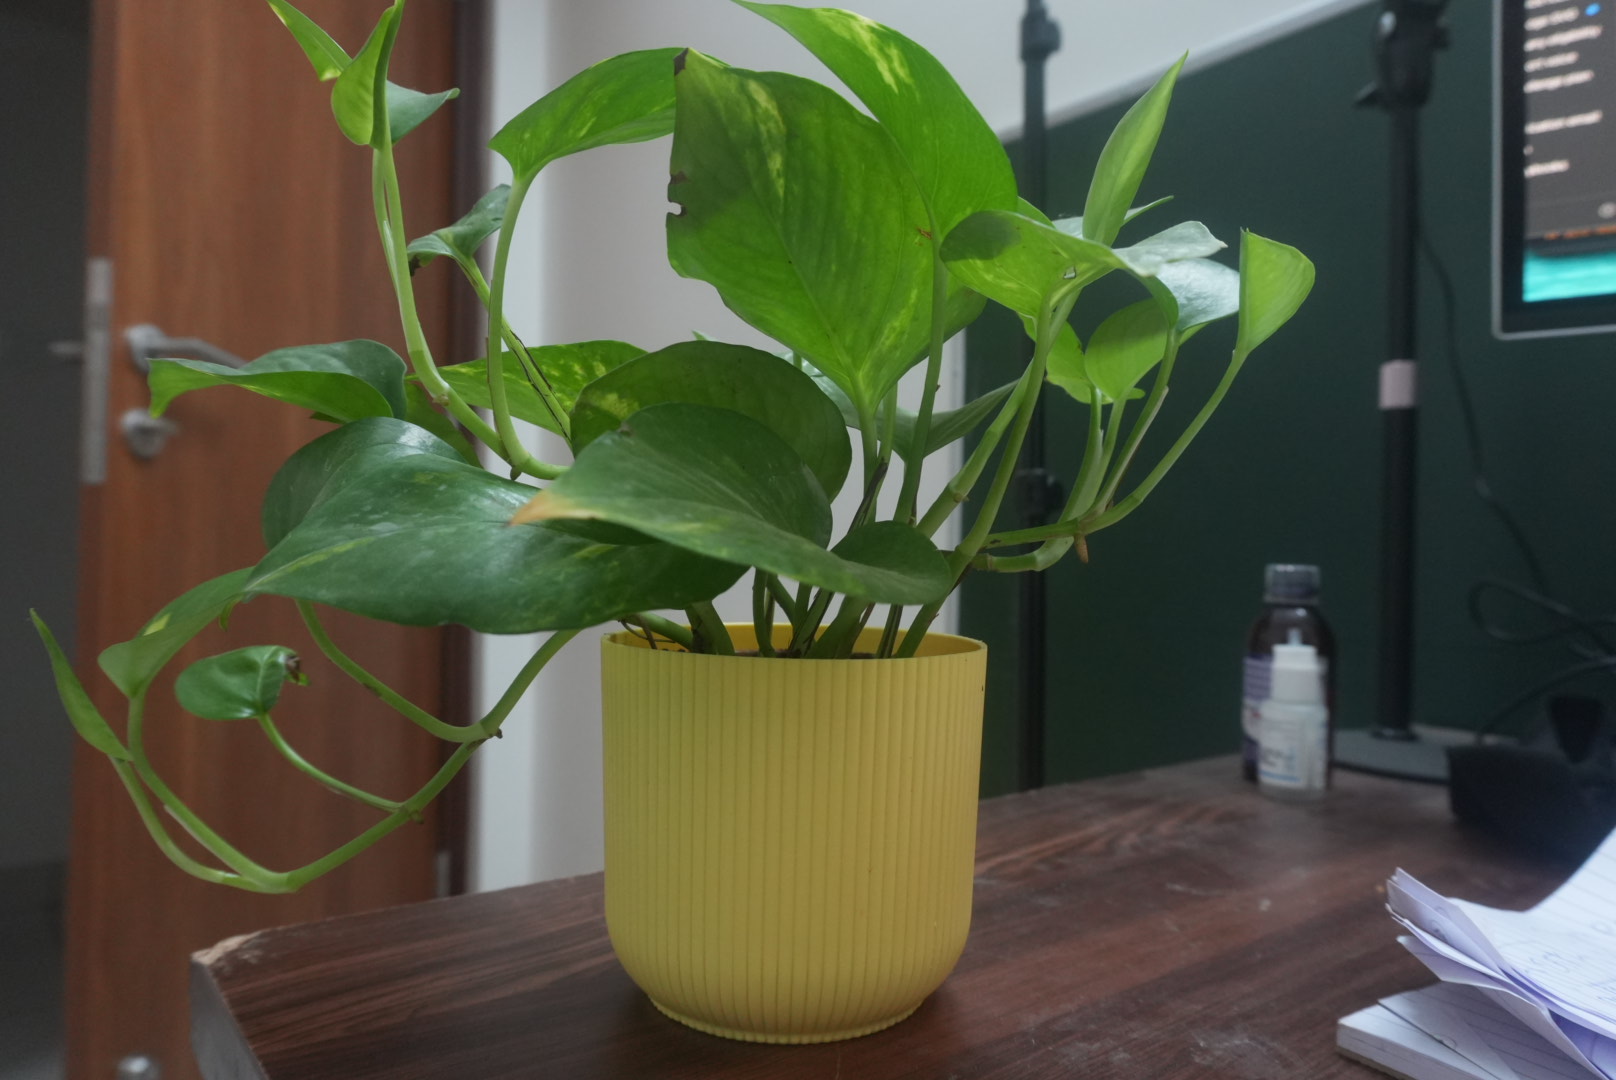
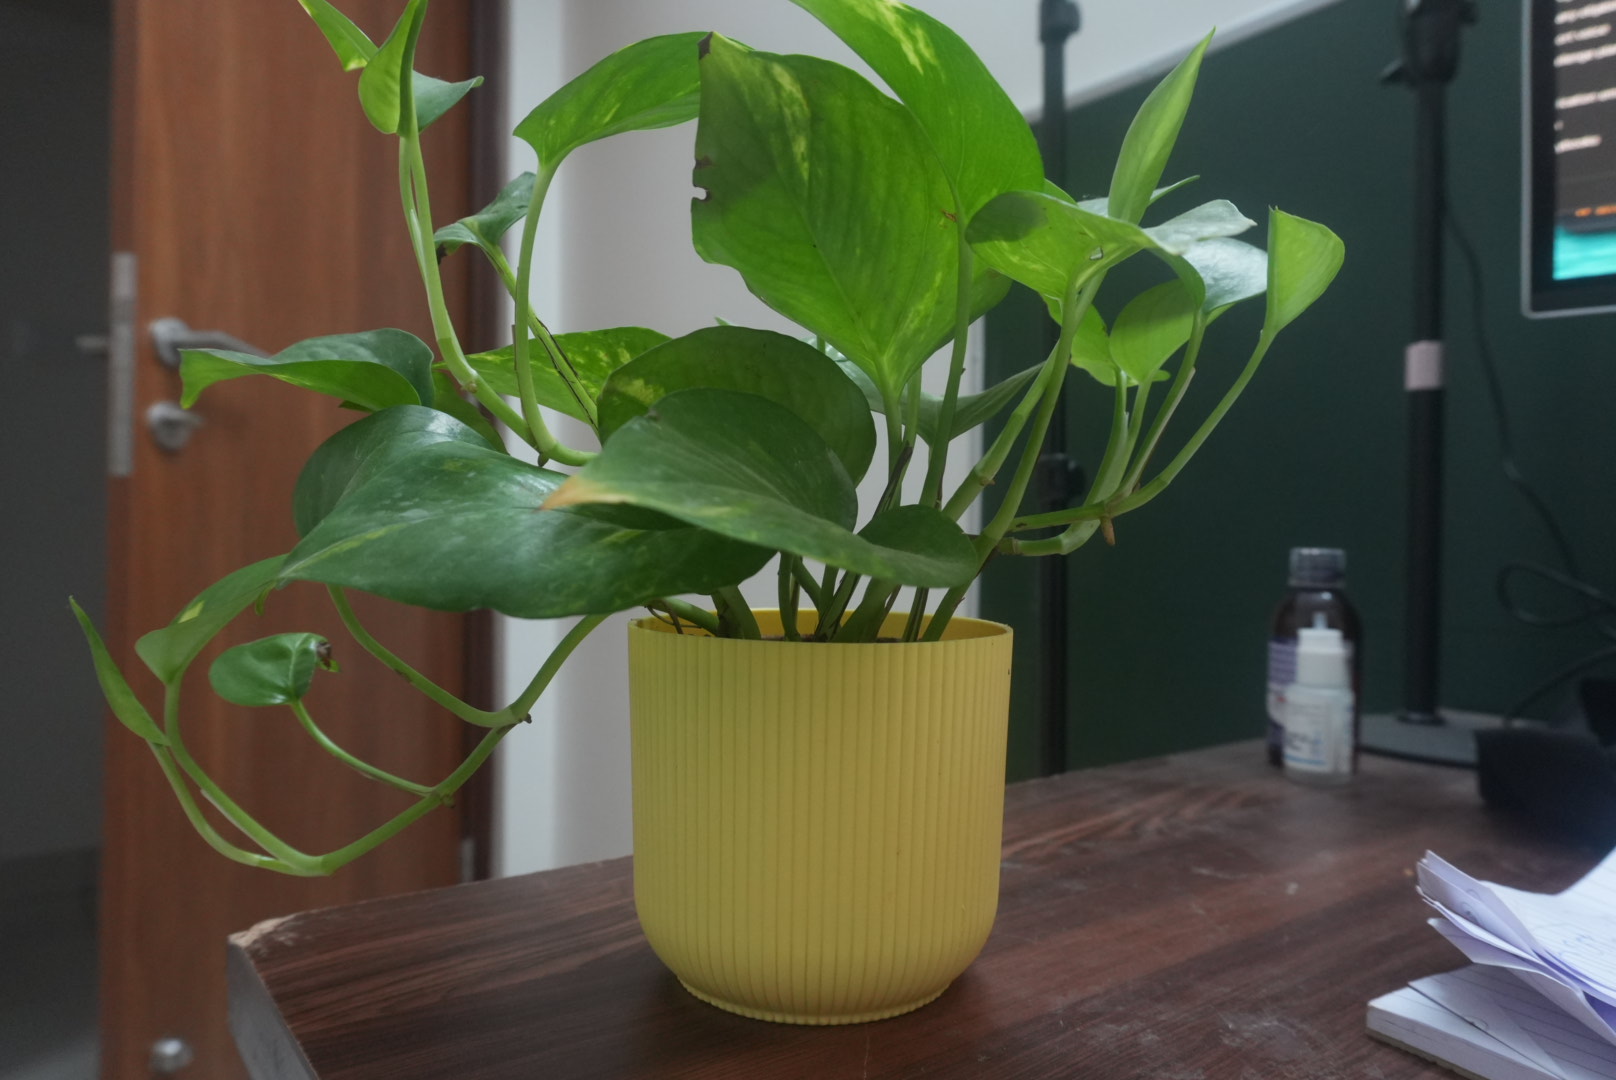
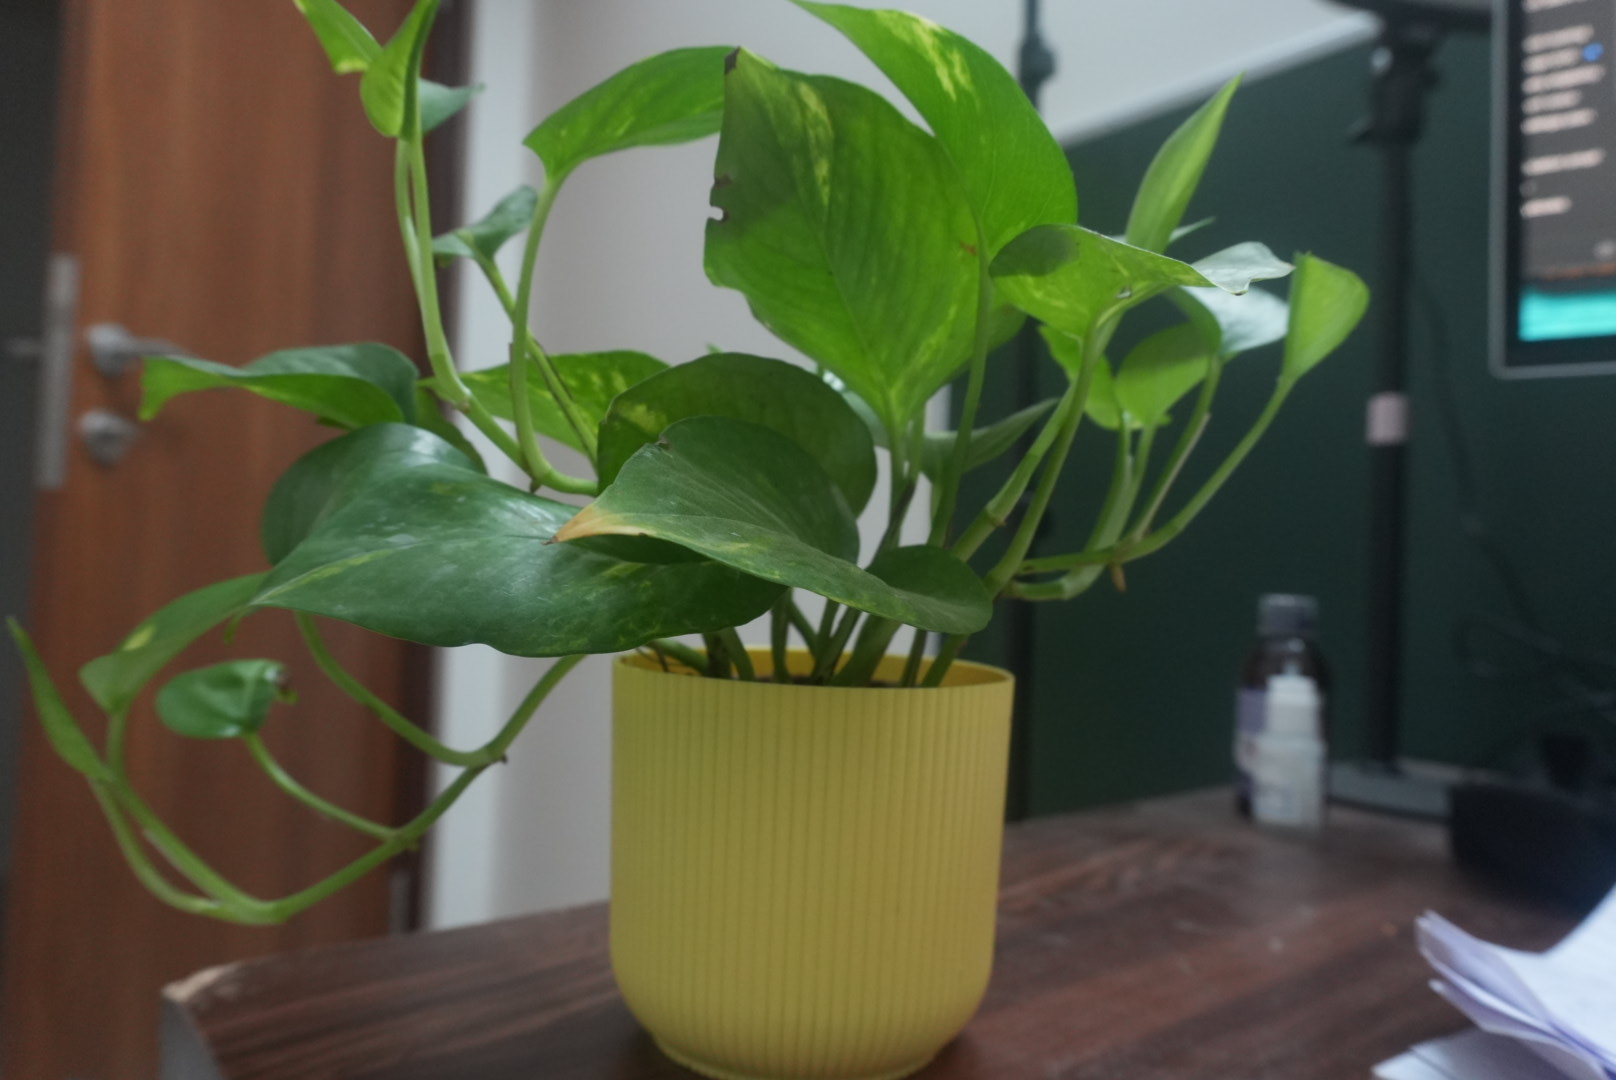
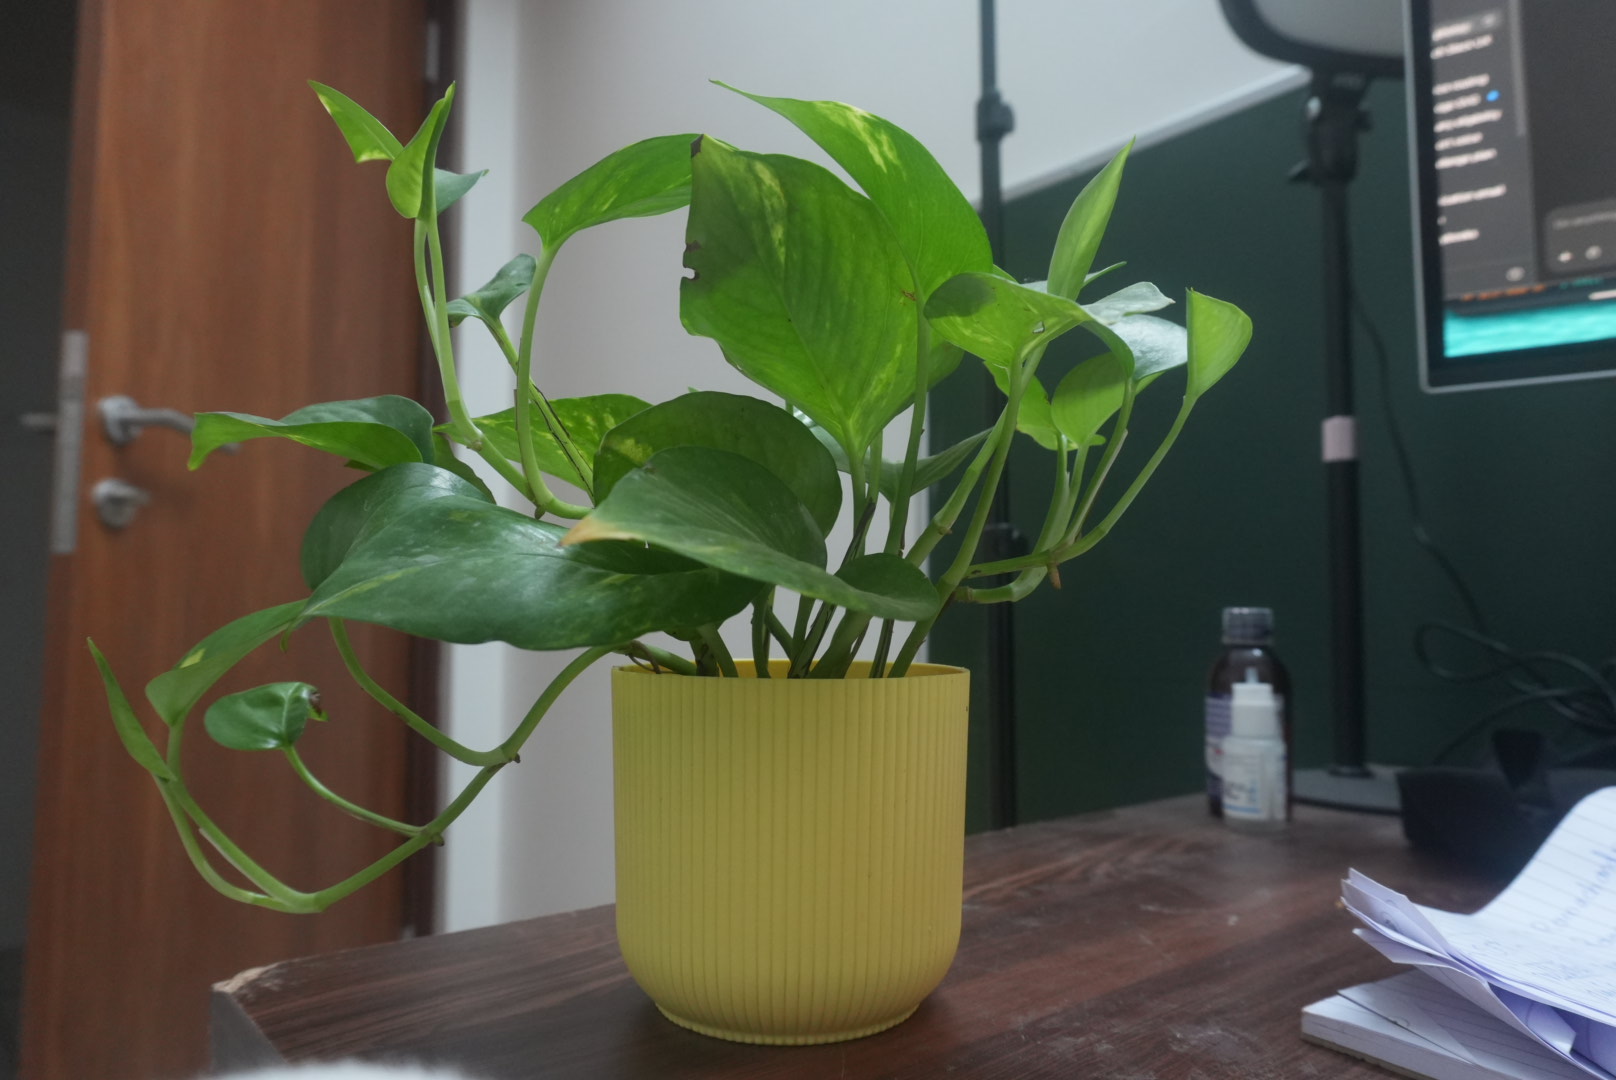
The moving squares were autofocus areas. Wide and Zone give the camera larger regions to work with; Spot lets me choose a smaller area. We used Spot L and AF-S for the stationary plant. Manual exposure still allowed autofocus, which made the lesson easier to manage.
The first four photos share the same exposure settings: f/5.6, 1/25 second and ISO 1600 at 16mm. They helped me notice changes in focus, headroom and the edges of the frame before worrying about more numbers.
2. Changing the background and opening the aperture
I moved the plant onto the chair to try the white wardrobe as a simpler background. The first attempt made the plant too small in the frame. Moving closer helped it become the main subject again.
We opened the aperture from f/5.6 to f/3.5 and reduced ISO from 1600 to 640, keeping 1/25 second. A lower F number means a wider opening. With other factors unchanged, that lets in more light and makes the depth of field shallower.
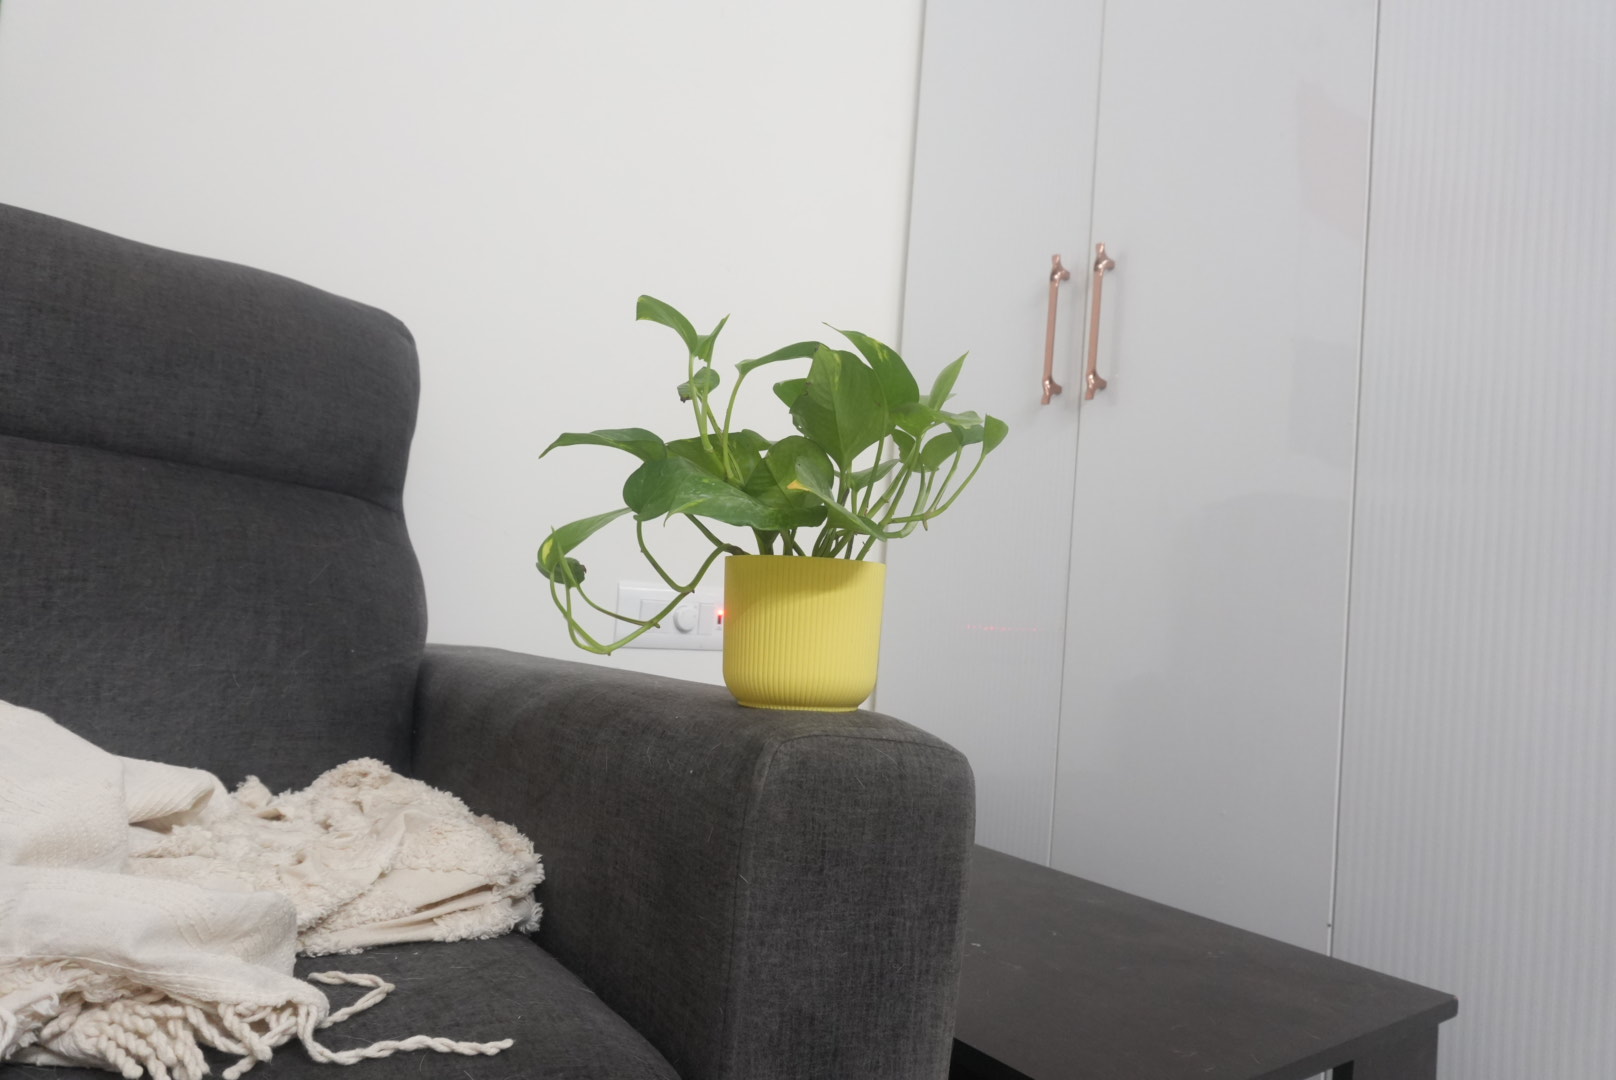
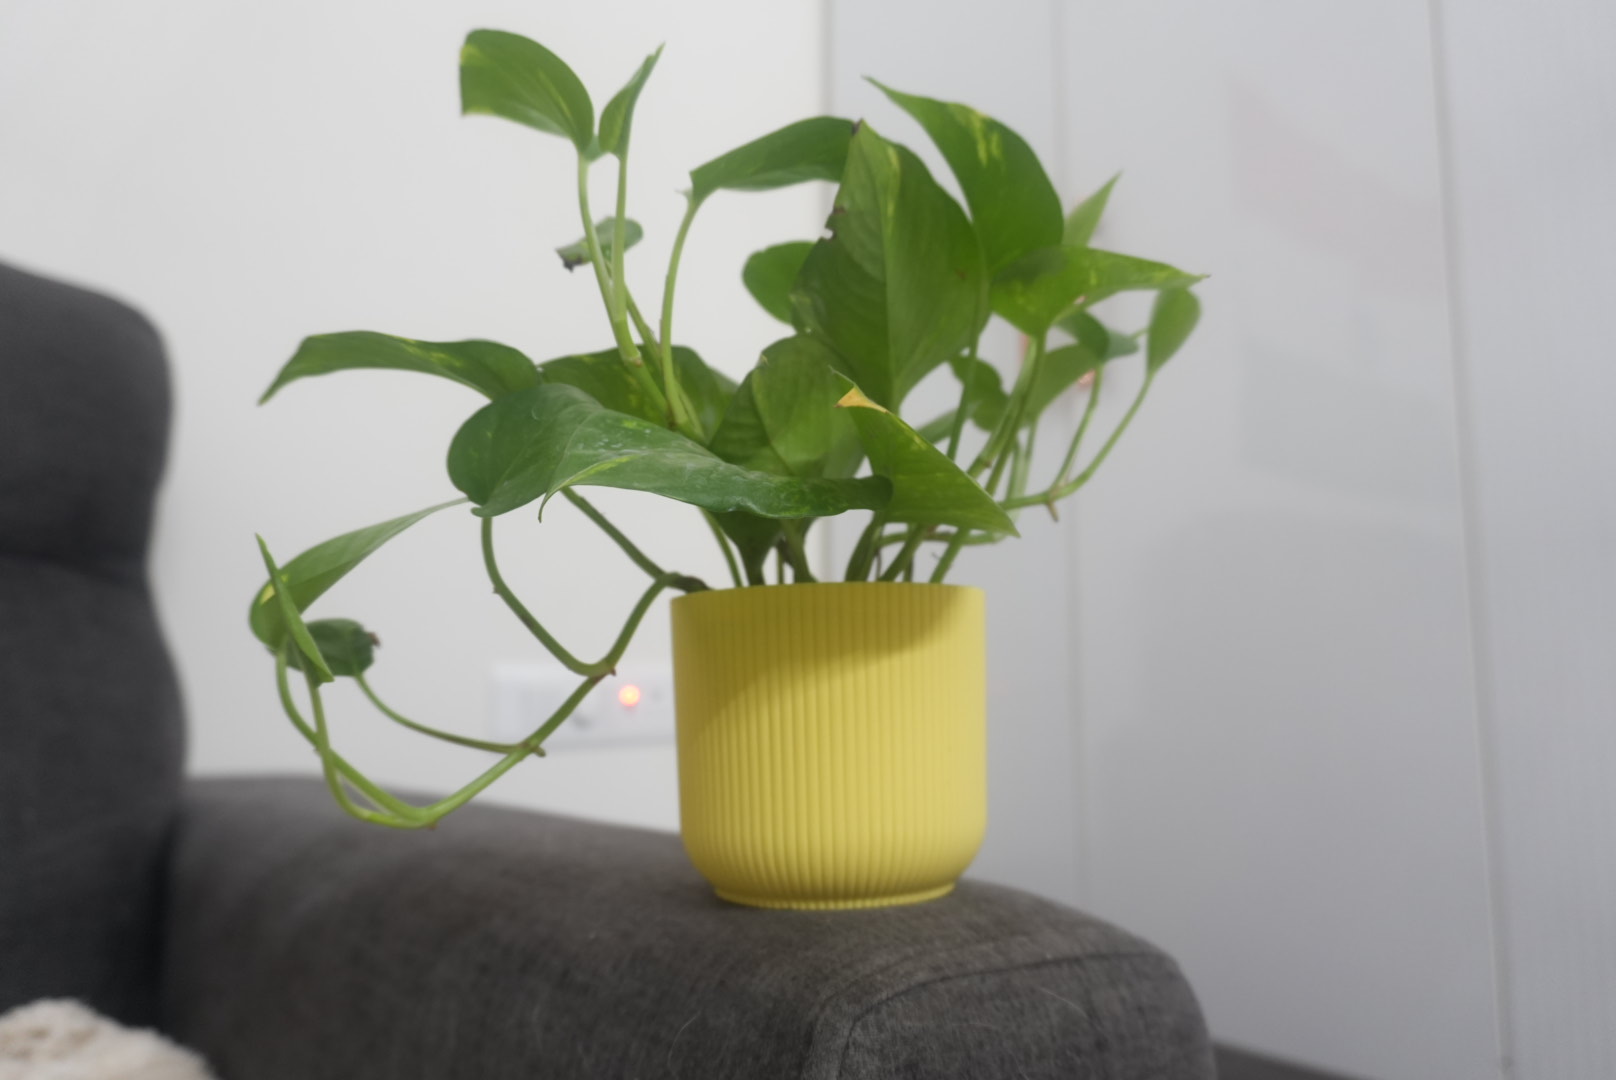
This was also my first useful exposure calculation. At the same shutter speed, f/3.5 admits about (5.6 ÷ 3.5)² = 2.56 times as much light as f/5.6. To keep roughly the same brightness under the same lighting, ISO 1600 ÷ 2.56 is about 625, close to the ISO 640 setting we used. Moving the subject also changed the scene, so the calculation was a starting point to check in the next photo.
3. Zooming and finding the lens’s aperture limit
Back at the desk, the next photo was at 25mm, f/4.5, 1/25 second and ISO 640. It was darker, and the tighter view cut off the bottom of the pot. I was also confused that I could no longer select the same low F number.
The kit lens has a variable maximum aperture: the widest available opening changes with zoom. The later 21mm photos used f/4. Background blur also depends on focal length and the distances between the camera, subject and background.
4. Using a faster shutter and checking focus again
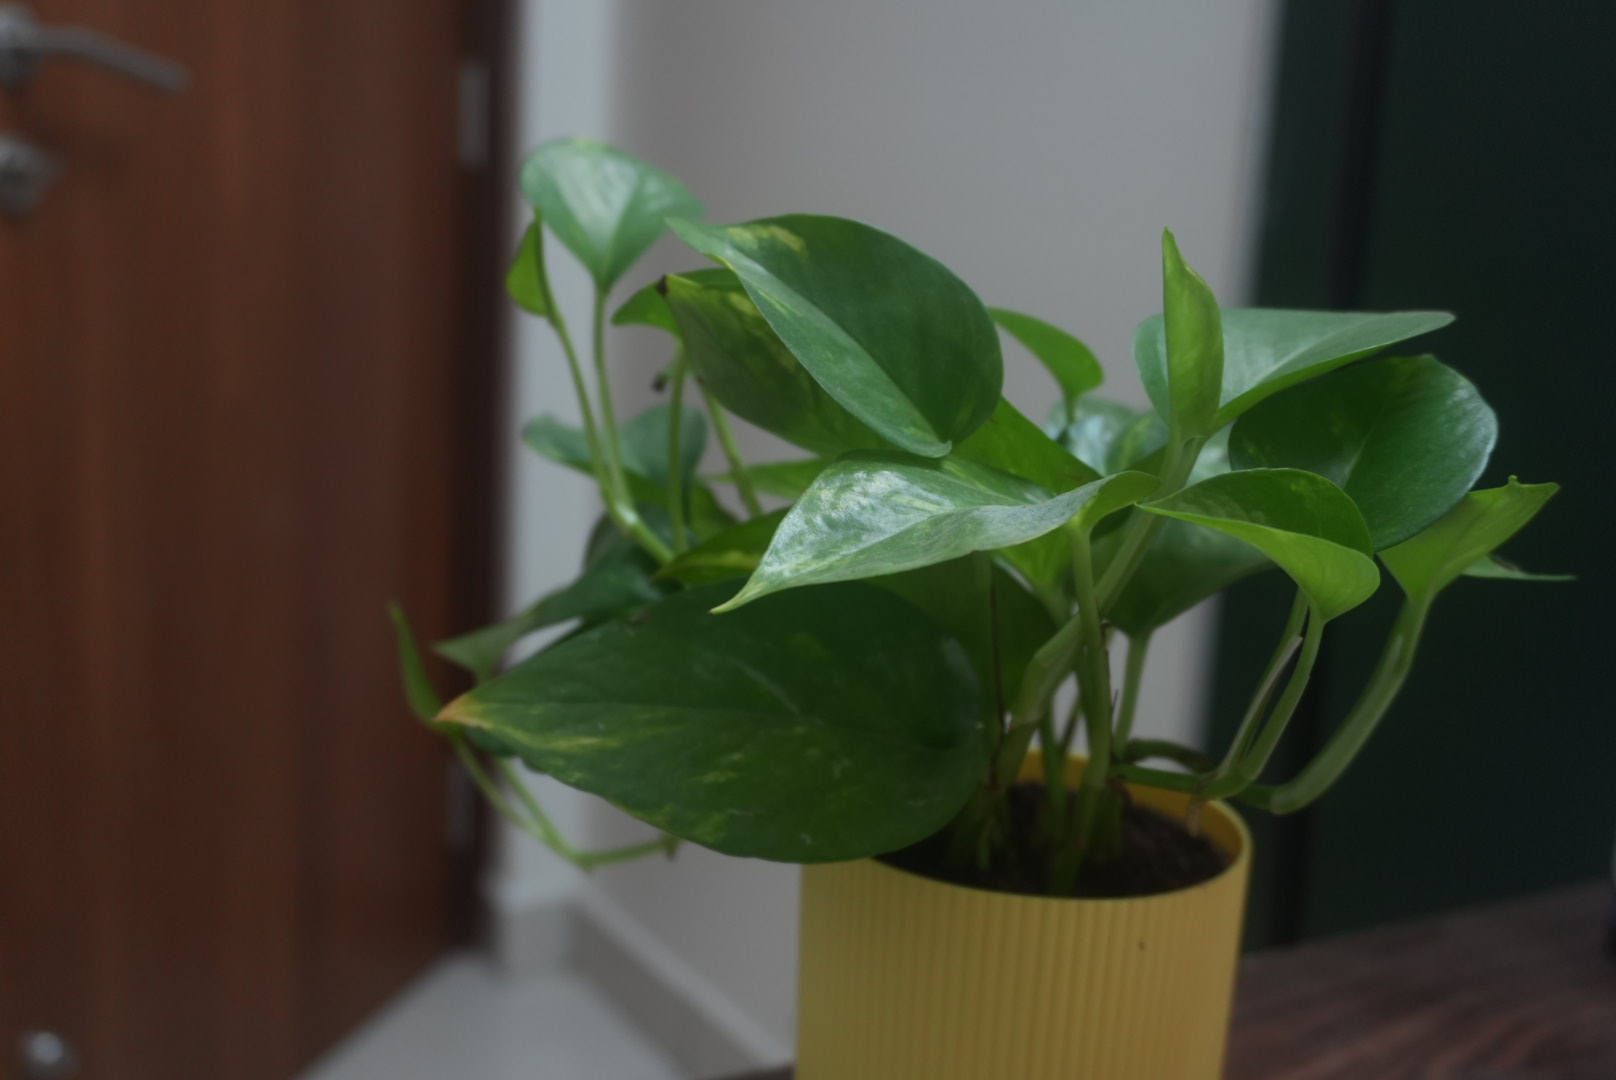
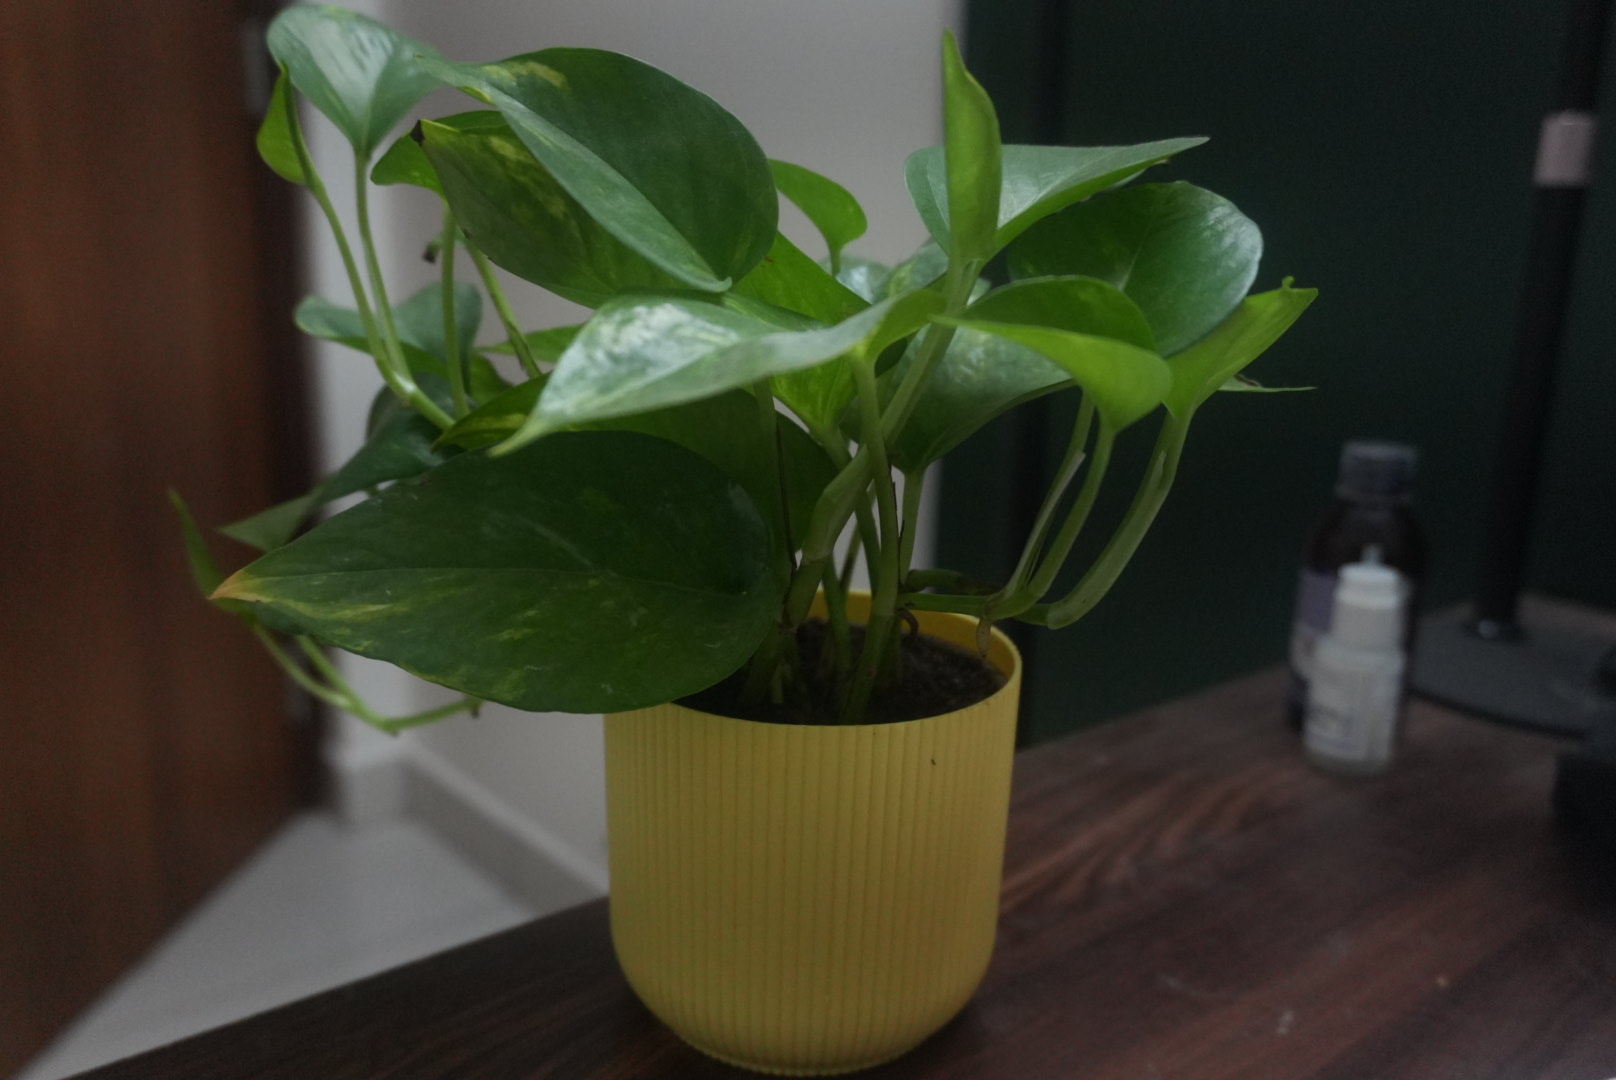
We moved to 1/125 second to reduce the risk of blur from hand movement. That is one-fifth the exposure time of 1/25 second, so it admits less light. At 21mm and f/4, I tried ISO 2500 to help compensate.
These two attempts have identical exposure settings, yet the framing and sharpest parts of the plant differ. I needed to inspect the leaf I wanted in focus as well as the overall brightness. A faster shutter cannot correct a misplaced focus point.
5. Raising ISO for the final frame
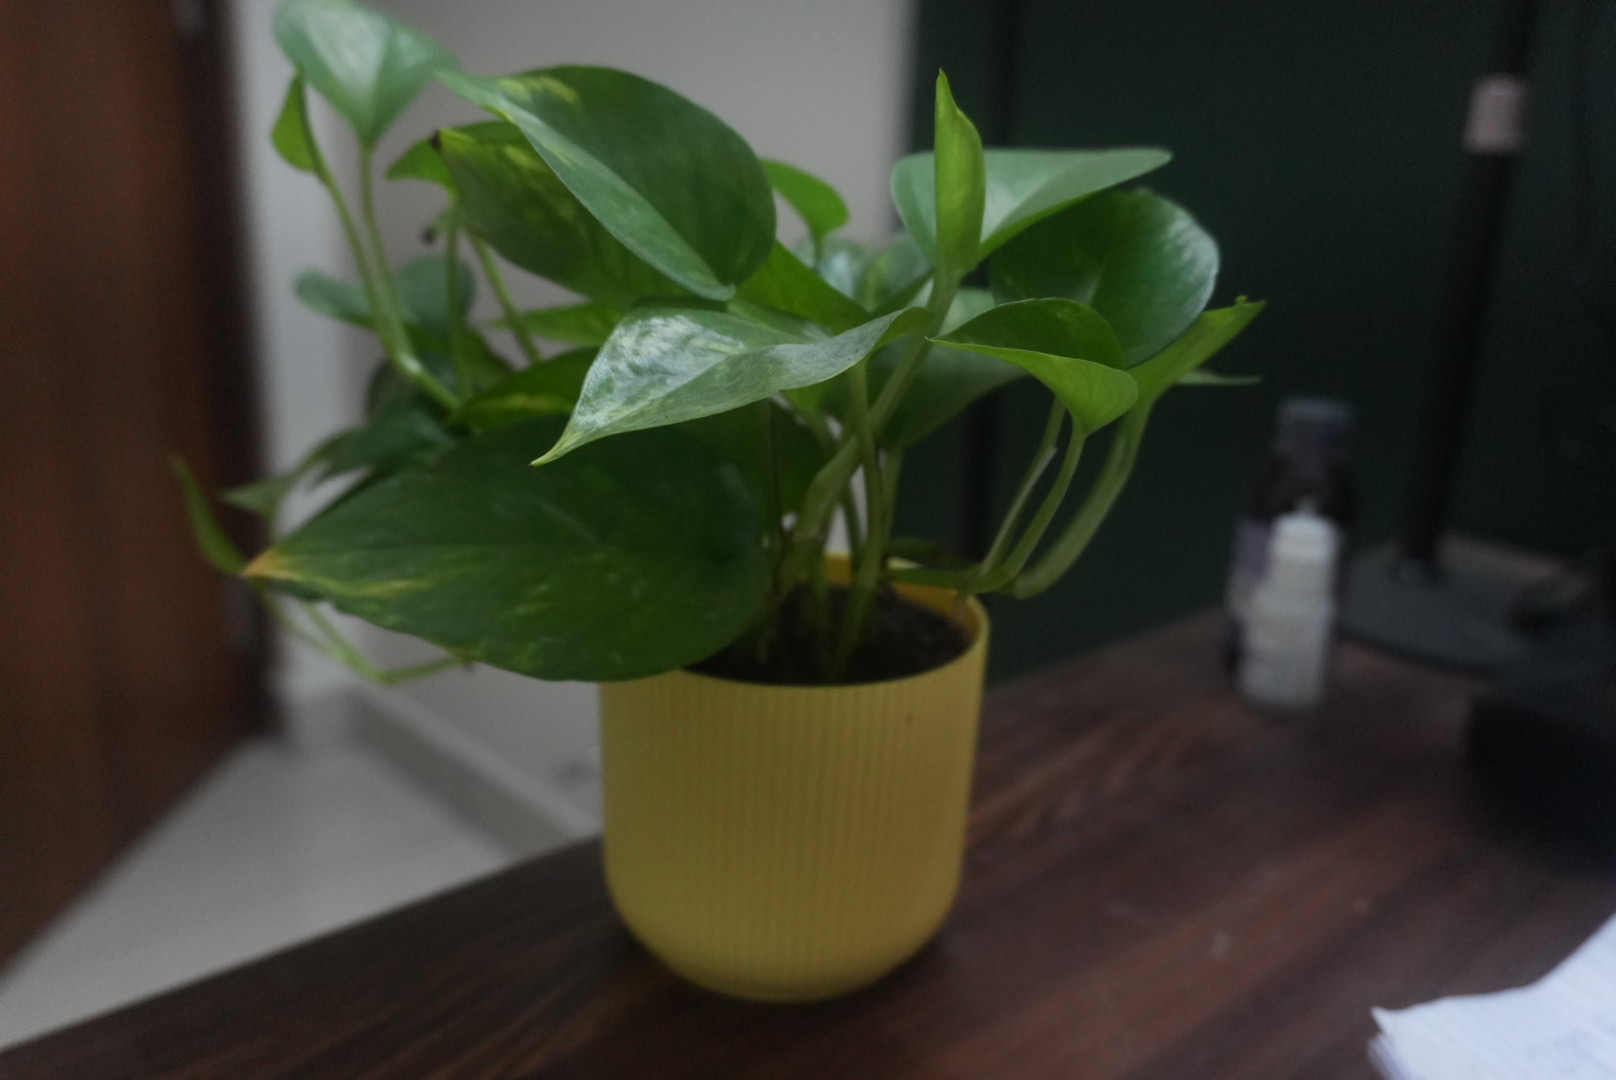
The last photo keeps 21mm, f/4 and 1/125 second, with ISO raised from 2500 to 4000. It looks brighter. Higher ISO can help when the chosen aperture and shutter speed leave a photo dark, though noise becomes a concern.
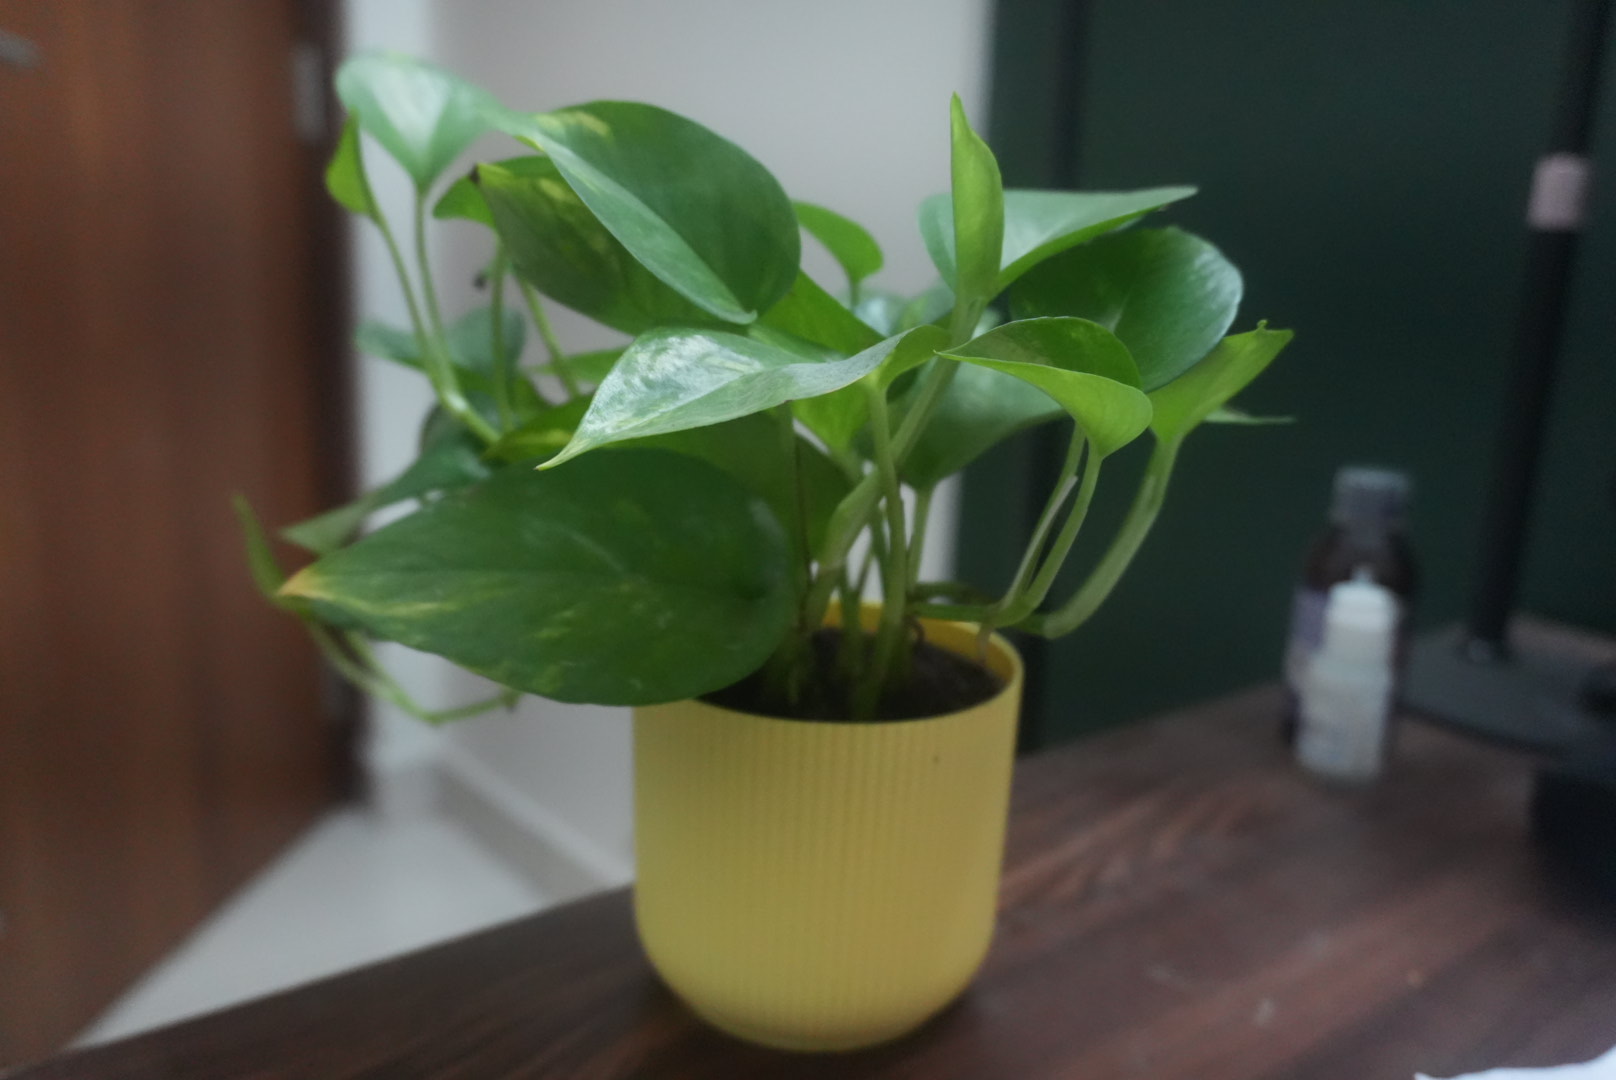
The background is soft, but the bottles still distract and some leaves are soft too. This is a useful practice result: I can see what changed and what to work on next.
The process I want to repeat
Trying to learn aperture, shutter speed and ISO all at once was confusing. I kept asking Codex which setting to start with. For this stationary subject and my goal of background blur, the order that helped was:
- Aperture: choose a low F number for the depth of field I want.
- Shutter speed: make it fast enough for the subject and how I am holding the camera.
- ISO: adjust brightness, then check the saved photo for noise and detail.
These numbers belong to this room and this lens. The habit I want to keep is broader: pick one thing to improve, make an adjustment, take a picture, and review it with Codex. Next time I’ll clear the background and choose one leaf as the focus target before pressing the shutter. More of my photographs are in the photo gallery.
Comments
Have thoughts on this post? Join the discussion below! Comments are powered by Disqus.